Import emails to Aweber (or MailChimp or whatever you’re using as your email marketing software) is a very easy process as you can see from this video (I walk you through the process step by step in less than three minutes).
Import Emails to Aweber Video Tutorial
Try AWeber’s Autoresponders for Free
How to Import Emails to Aweber

In this real life example, I’m importing a CSV spreadsheet file that was provided to me by the company that ran my giveaway.
They emailed me the CSV file with all the emails, so with that on my computer hard drive, I logged into my Aweber account.
Note: I realize MailChimp is the most popular email marketing software provider with indie authors, but I’ve used (and like using) Aweber, so that’s why the video and the screenshots are showing the process to import emails to Aweber versus MailChimp, or any of the other popular services out there. But regardless of which service you’re using, they all should make it as easy to import emails to them as Aweber does. If not, I would suggest switching.
The CSV file only contains email addresses (collecting first and/or last names makes it more difficult to get people to sign up to your mailing list).
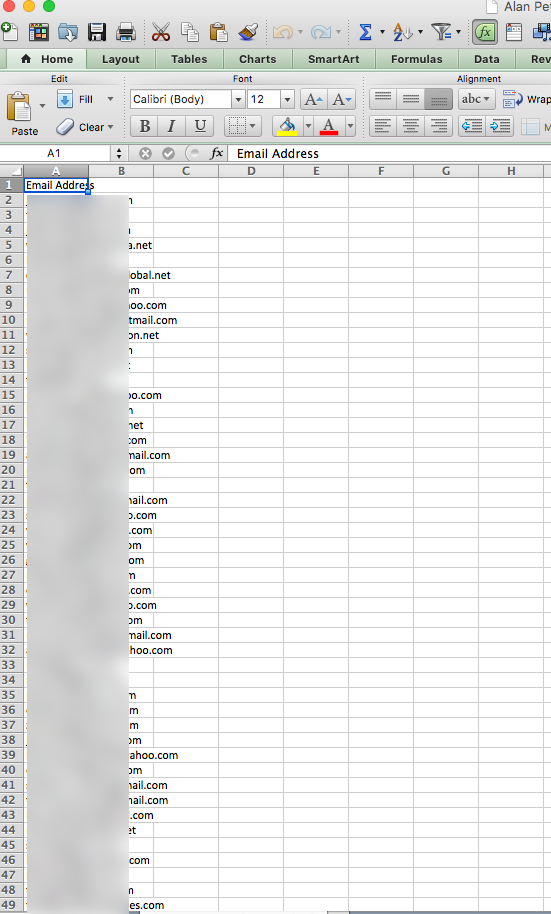
From Aweber go to “Manage Subscribers” and then to “import”. Then browse to the CSV file on your computer and click on import (watch the video above to see that in action).
Once the CSV file has been imported you’ll see this message (that means the import is being processed):
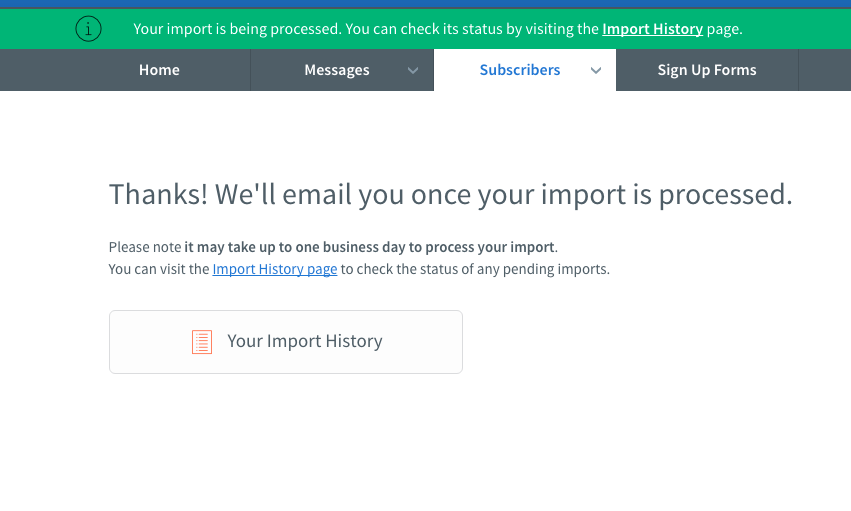
You can view “Import History” and you’ll see the details of the import.
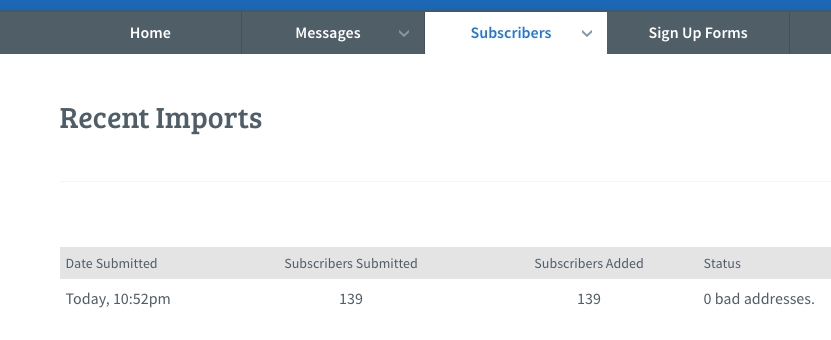
Once the import processing is complete, you’ll see those emails in your Aweber account like any other list. Note: I suggest setting up a new mailing list, separate from your other mailing lists so you can track results. Especially, since in this case, I paid a company to run that giveaway and build that list using Facebook Ads, so the only way to see if the quality of that list is any good is to import those emails into their own mailing list (with Aweber I can easily setup unlimited number of mailing lists).






 My name is Alan Petersen I write mysteries and thrillers. You can check out my Amazon page